Lime Mortar vs Cement Pointing: What's Right for Old Stonework?
Quick takeaway: For most older stone buildings, lime mortar is the safer, longer-lasting choice because it lets the wall breathe and move. Cement can trap moisture and accelerate decay.
Who this guide is for
If you own (or look after) an older stone property in Dorset, Somerset or Wiltshire and you’ve been told it “just needs repointing”, this is the plain-English explainer you wish you’d been given first.
Why mortar choice matters more than you think
Mortar isn’t decoration. In traditional walls it’s the sacrificial, breathable layer that:
- sheds wind-driven rain,
- allows moisture to evaporate,
- accommodates small seasonal movement,
- protects the edges of the stone.
Choose the wrong mortar and you don’t just risk a poor finish — you can change how the whole wall behaves.
Lime vs cement, in one minute
Lime mortar
- Breathable (lets moisture escape)
- Softer than most historic stone (it wears first, as intended)
- More flexible (handles slight movement without cracking)
- Repairable (future work is easier and less destructive)
Cement mortar
- Hard and dense
- Less breathable
- Often stronger than the stone (the stone becomes the weak point)
- Can be hard to remove later without damaging the edges (“arris”) of the stone
When cement pointing goes wrong
If you’re seeing any of these, cement (or another “hard repair”) may be part of the problem:
- Spalling or flaking stone faces near joints
- Damp patches that persist, especially after rain
- Cracking along the edge of the mortar joint
- Loose stones or hollow-sounding areas
- salt staining or white deposits
These aren’t “cosmetic”. They’re the wall telling you moisture is being driven somewhere it can’t easily escape.
”But cement is stronger — surely that’s better?”
It’s a reasonable assumption. In conservation, “stronger” is often worse.
Traditional walls work because each layer has a job: the stone provides structure, and the mortar provides a weathering layer that can be renewed. If the mortar becomes harder than the stone, moisture and stress move into the stone instead. That’s when repairs get expensive.
When lime is the right choice
Lime is typically appropriate for:
- listed buildings and older cottages or farmhouses
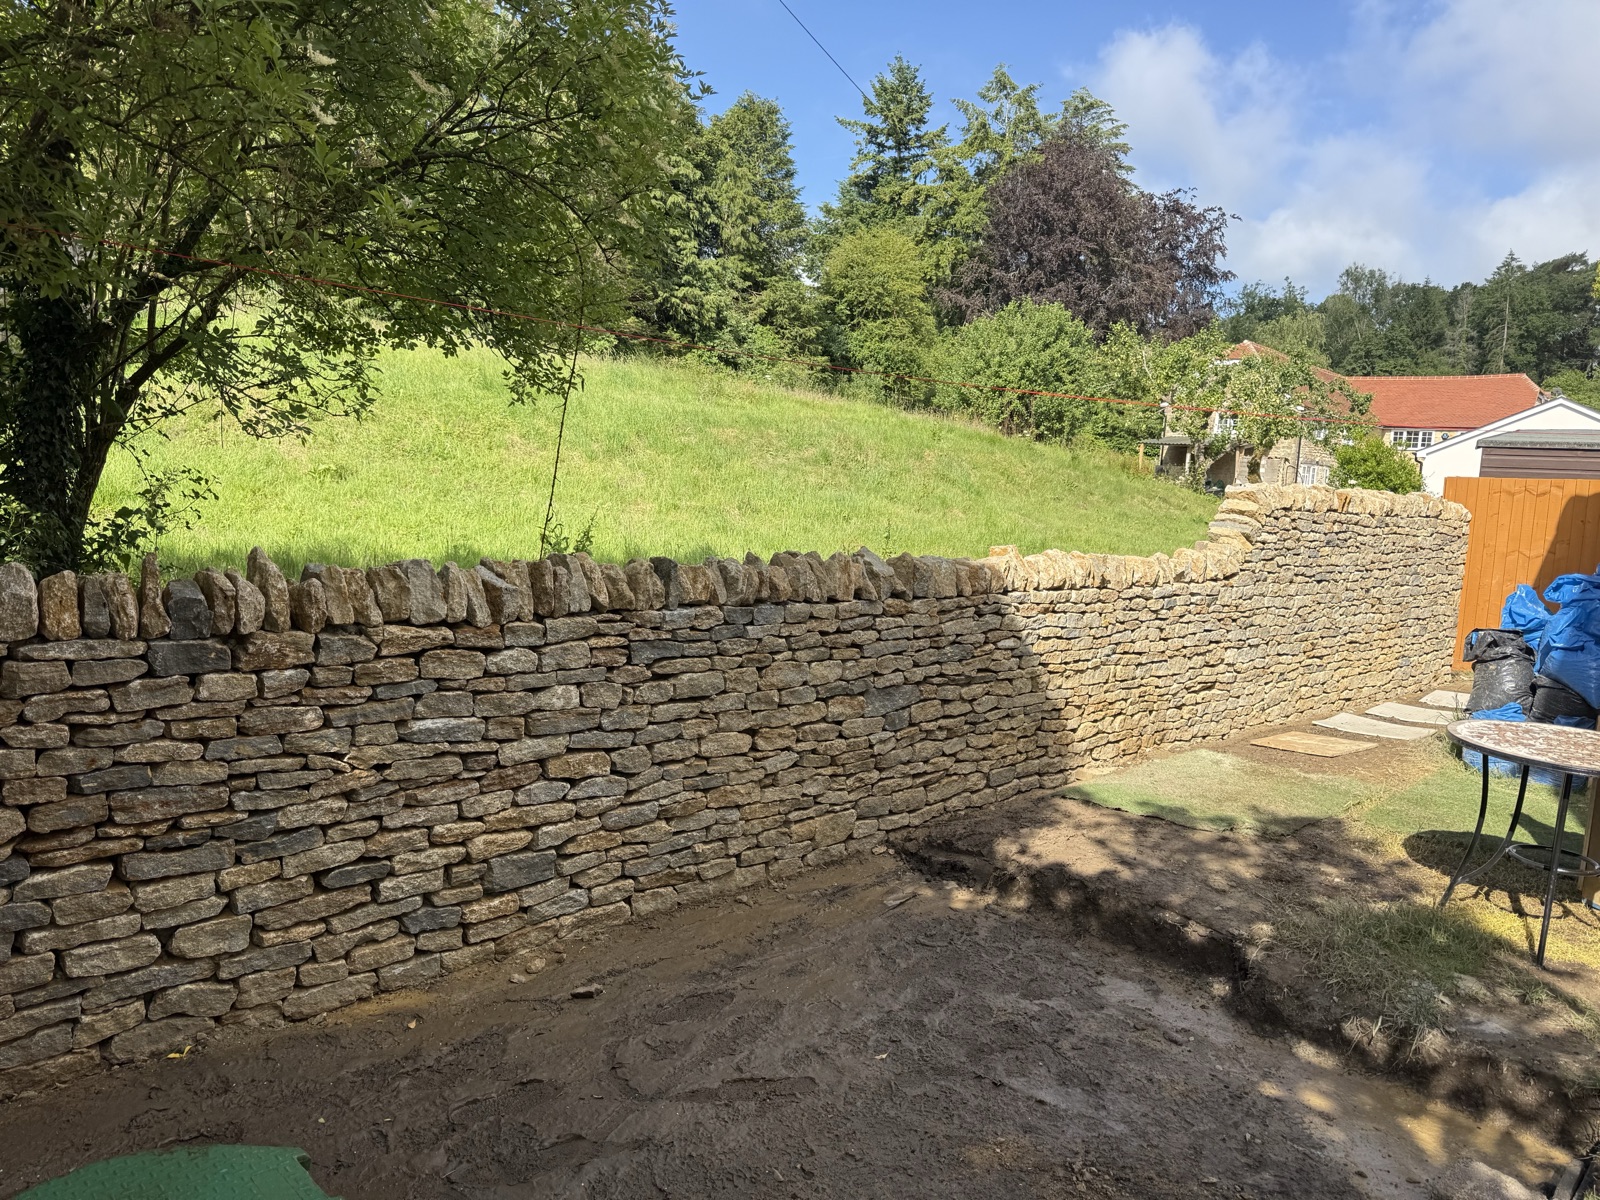
- boundary walls built with softer stone
- areas prone to damp (north elevations, shaded walls)
- any wall previously pointed with lime
Which lime?
There isn’t “one” lime. A competent stonemason chooses based on exposure, stone type and joint detail:
- Non-hydraulic lime (lime putty): very breathable; slower set; often used in sheltered historic contexts
- Hydraulic lime (NHL 2, NHL 3.5 and so on): sets more readily; suitable for more exposed areas
A good contractor will explain the why in plain language, not just throw acronyms at you.
What good pointing looks like
When you’re comparing quotes, look for these signals of care:
- joints are properly raked out (not just skimmed)
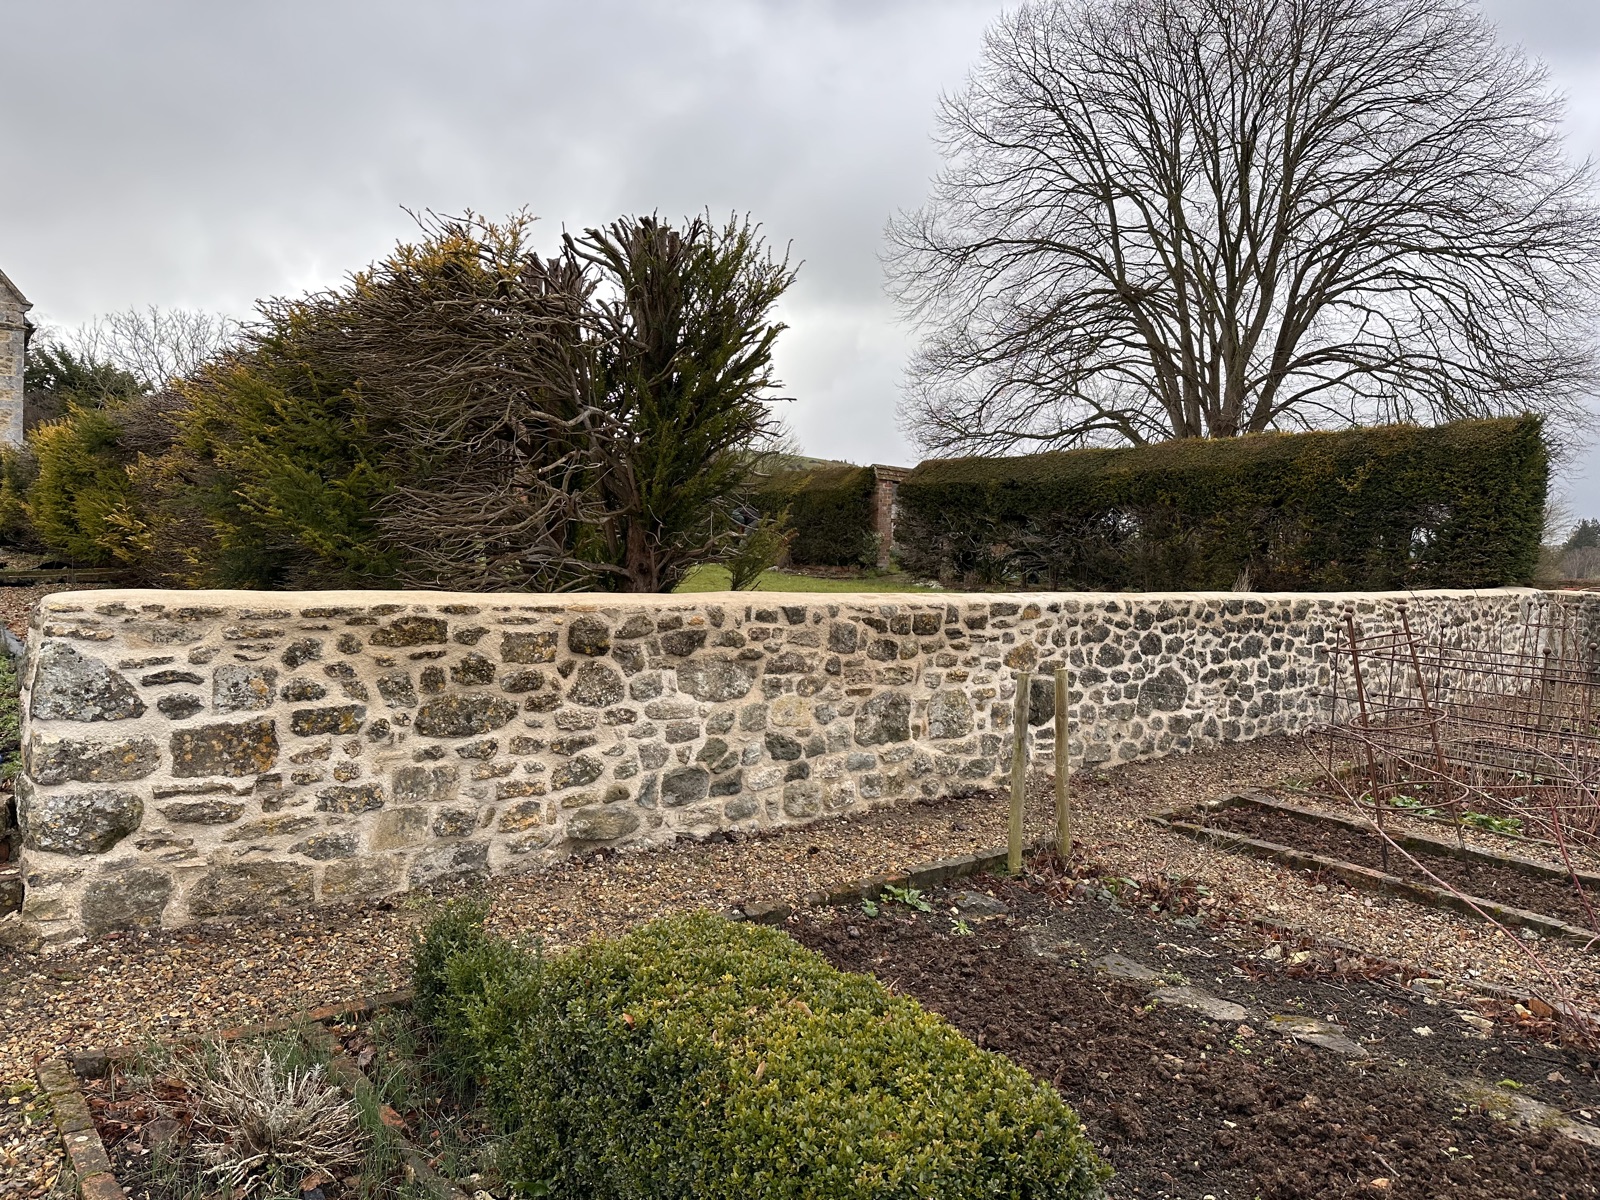
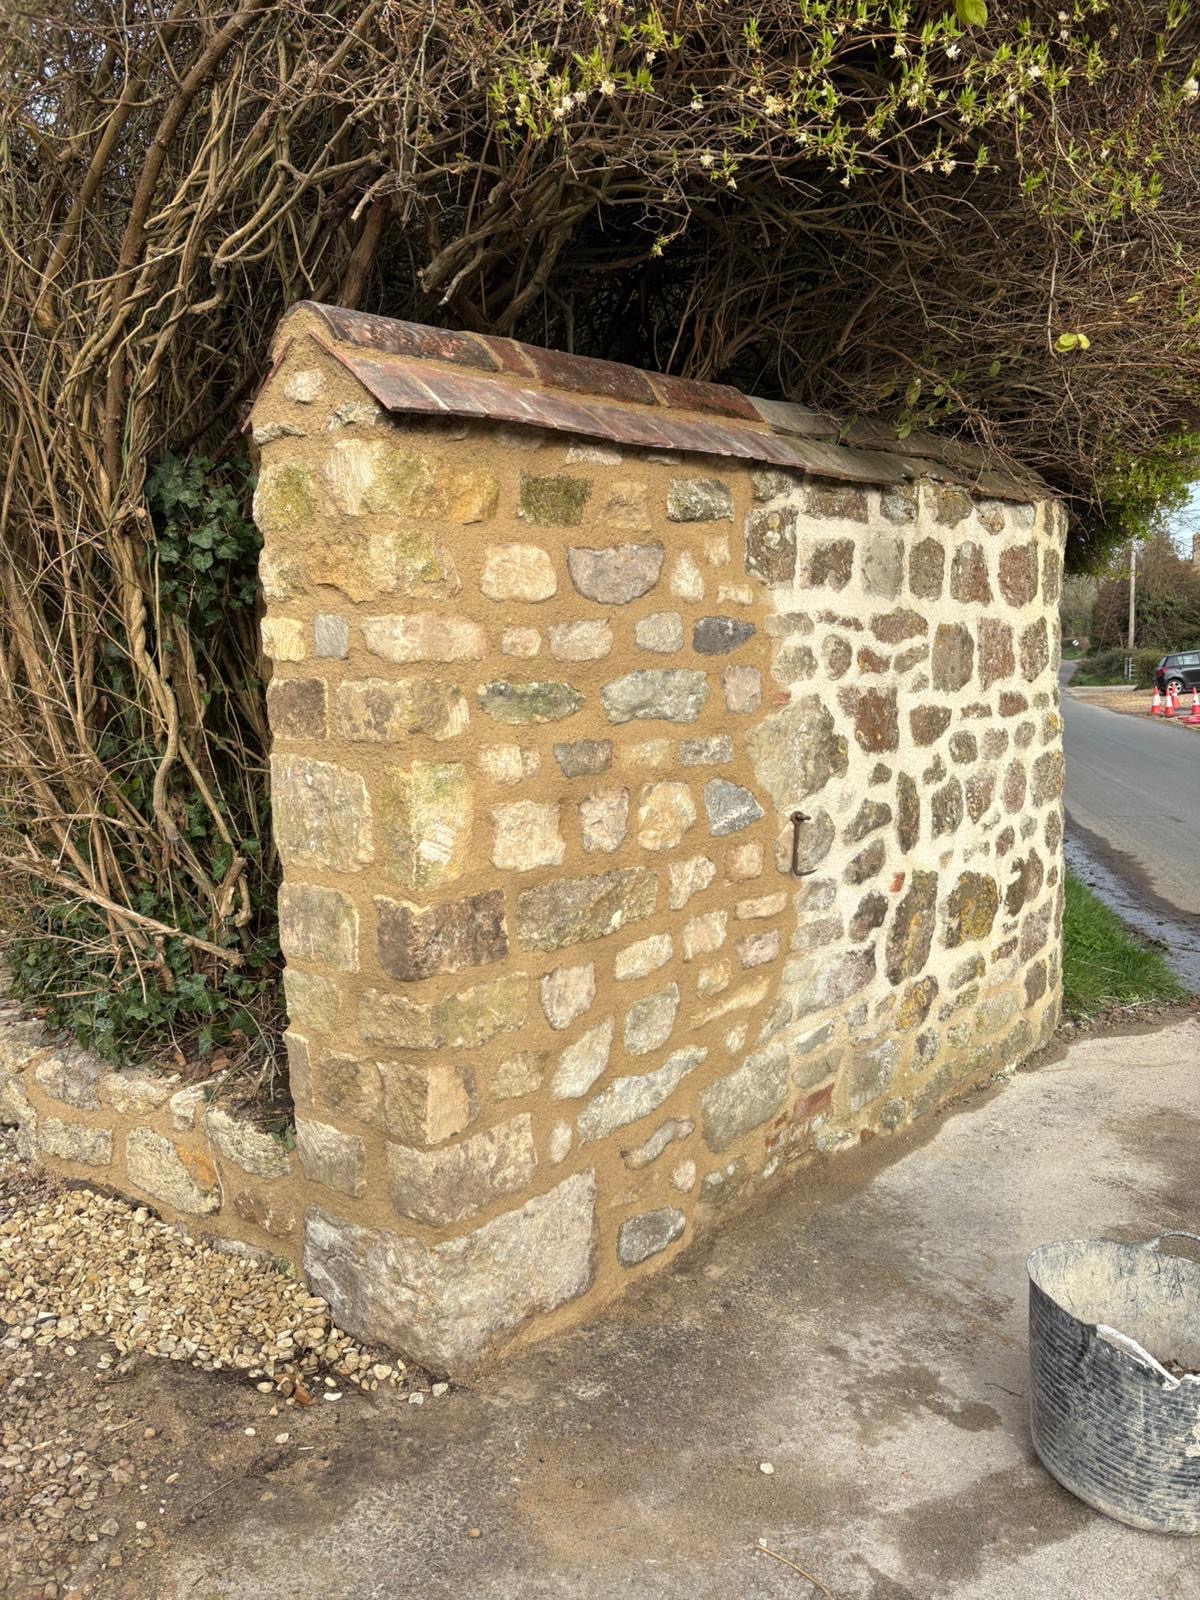
- mortar is matched in colour and aggregate to the building
- the finish is appropriate (often slightly recessed or neatly finished — rarely a proud “ribbon”)
- edges of stone are protected (no grinding damage)
- curing and protection are planned (lime needs protection from sun, frost and heavy rain while it cures)
Red flags to watch for in quotes
- “we’ll just go over the top” (skim coats fail)
- no mention of raking-out depth
- no mention of curing or protection
- cement and sand mixes suggested for an older building
- a quote that’s vague on what’s included and excluded
The practical next step
If you’re unsure what’s currently in your joints, take:
- a wide photo of the wall,
- a close-up of the joint,
- a photo after rain (if damp is an issue).
Send them over with your postcode and we’ll give you a straight answer on what we’d do first — and what to avoid.
Want an expert to take a look?
If your property is in North Dorset or South Somerset, request a site visit and we’ll assess the mortar, stone condition and the safest repair options.